It is vital for students to stay connected with all of the
events and assignments required for each class. Students utilize the calendar
tool to view events and due dates for a specific course or for all of their
courses at one time. This tutorial demonstrates how to access, view, and
utilize the calendar tool in MyFIRE.
1. Access the desired course in MyFIRE.
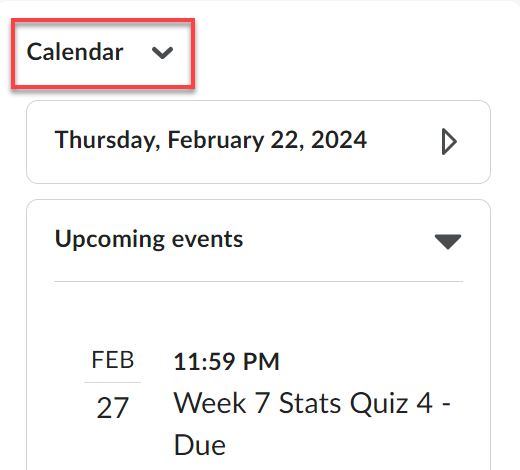
2. On the course homepage, scroll down the page and
locate the calendar tool on the right side of the page.
3. Select the calendar title.
4. When the page refreshes, the calendar will
appear. Determine your desired calendar view by selecting either agenda, day,
week, month, or list view.

a. Agenda - This view highlights and lists the
calendar events that are due within the next 14 days.

i. Change
the heading of the events for your view by selecting either date, course, or
category.

b. Day - This view displays the calendar events
that are scheduled for a single day.

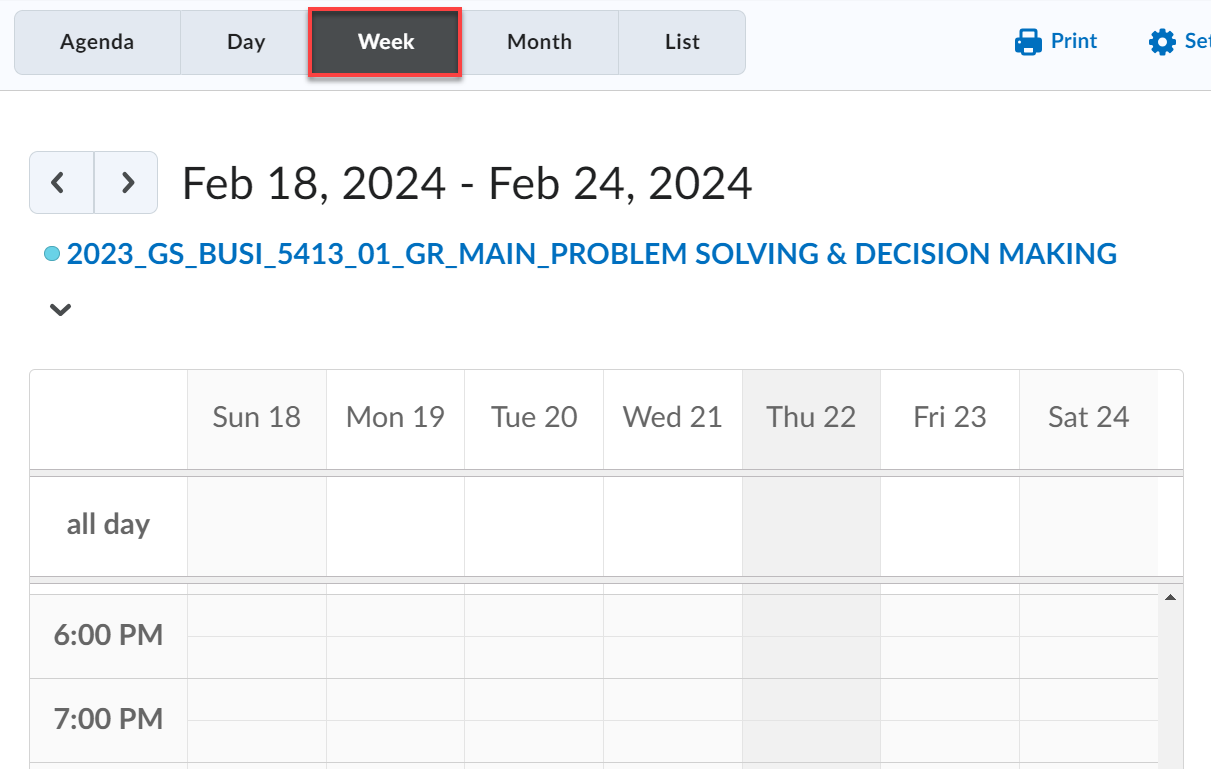
c. Week - This view displays the calendar events
that are scheduled for a week.
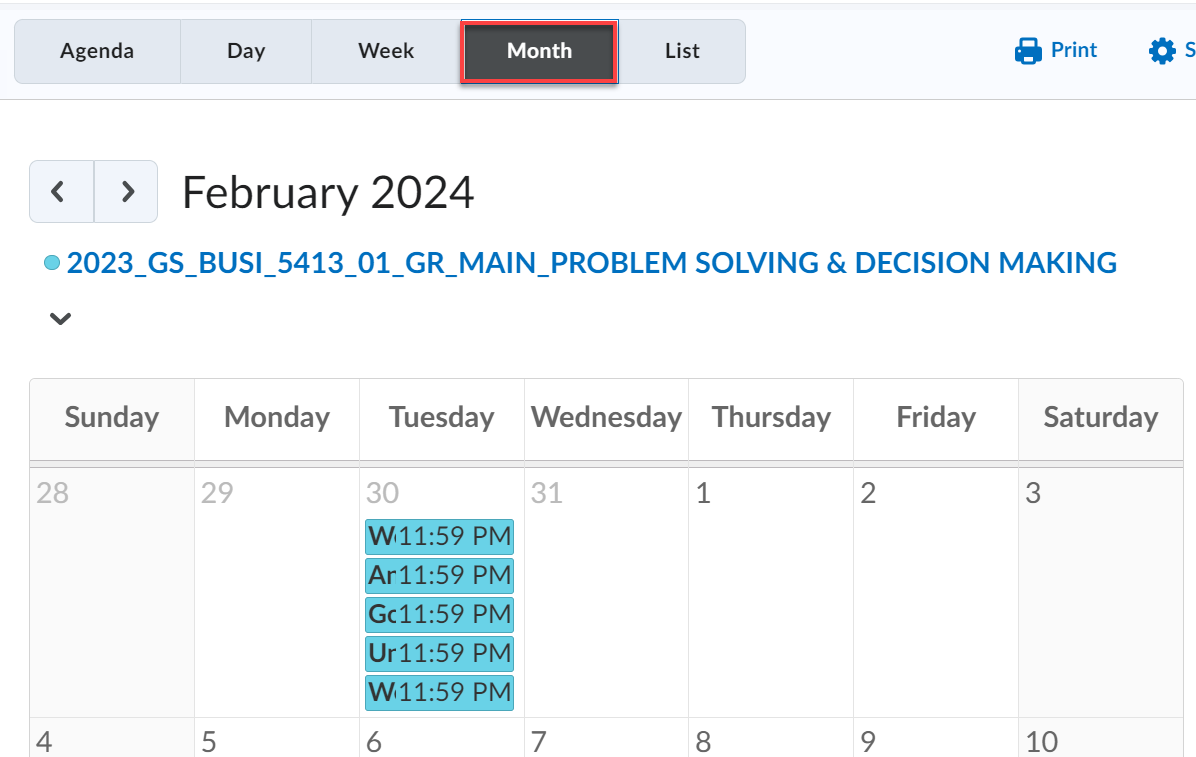
d. Month - This view displays the calendar events
that are scheduled for the month.
e. List - This view displays the upcoming calendar
events in a list format that can be filtered by the type of event or activity.

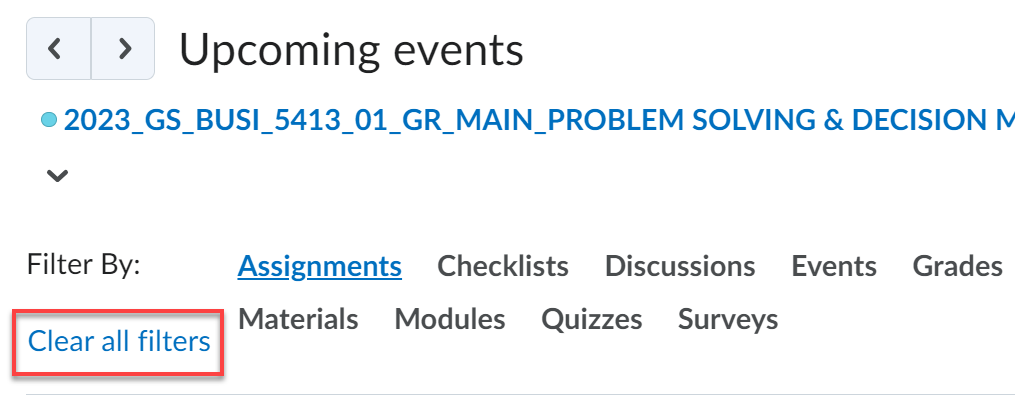
i. If
needing to filter your view of the listed calendar dates, select one of the
available activity types: assignments, checklists, discussions, events, grades,
materials, modules, quizzes, or surveys.

ii. To
remove the filtered view, select clear all filters on the left.
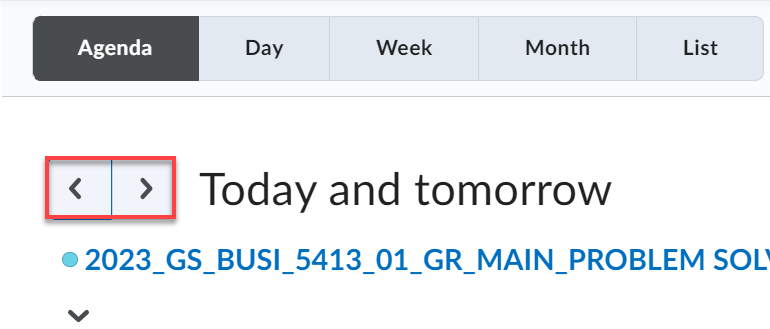
5. As the calendar view changes, the select date or
date window will display above the events. Change the selected date or date
window by selecting the left and right arrows.
6. Once on your desired calendar view, select the
event heading or colored event block to view the event details. If viewing the
day, week, and month calendar views, a pop-up window will appear.

a. If desiring to learn more about the event or
activity, select more in the right bottom of the pop-up window.

7. Search for a specific calendar or activity event
by entering keywords in the search bar and selecting enter. Depending on your
internet speed and the volume of results, the page may take a moment for the
search results to appear on the screen under the list view.

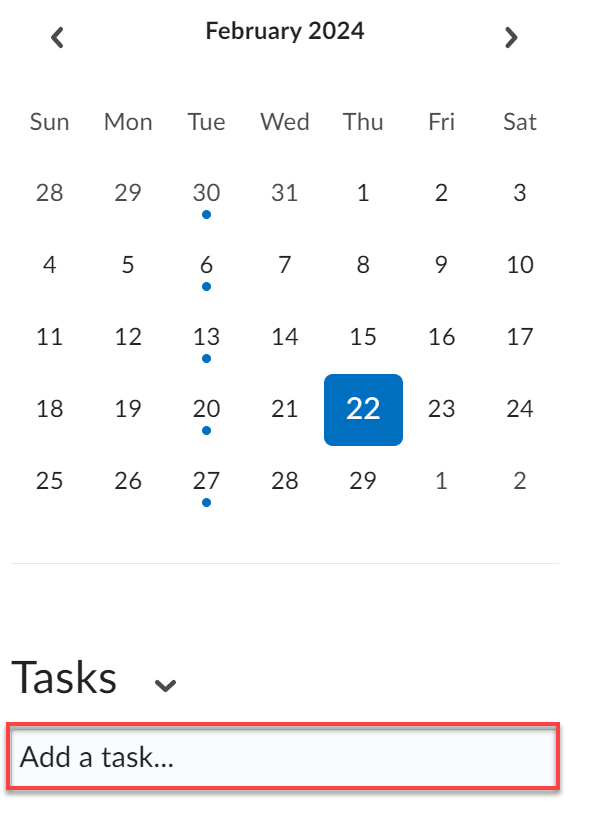
8. Quickly navigate to view a specific date’s
events by selecting a date in the monthly calendar on the right side of the
page. Each date with a blue dot under the number has calendar events or
activities due on that date.

a. Change the month by selecting the left and right
arrows.

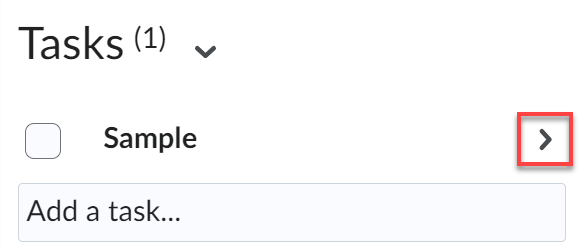
9. Set reminder tasks for yourself by typing a
reminder into the add a task field and selecting enter. Once a task has been
added, it will appear below the tasks heading.
a. Select the right arrow for a specific task to
enter details.
b. If desired, add a due date for yourself for the
task by selecting the calendar icon. A pop-up calendar will appear to help you
select a due date.

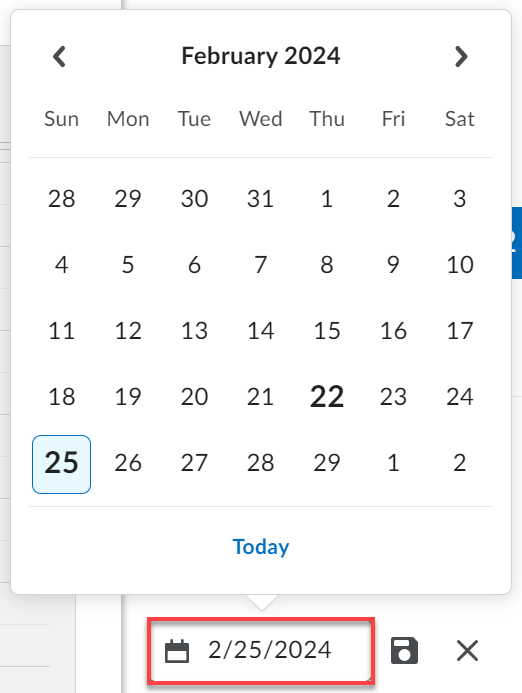
c. Once a due date has been chosen, select the
floppy disk icon to save the date.
d. If needed, add notes for yourself in the task by
typing in the add a note field.
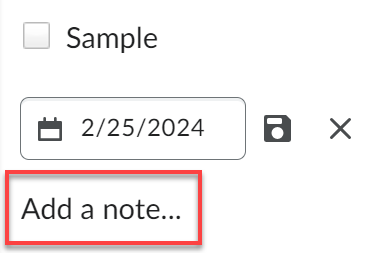
e. Once you have completed the task, select the
checkbox to the left of the task title to complete the task.

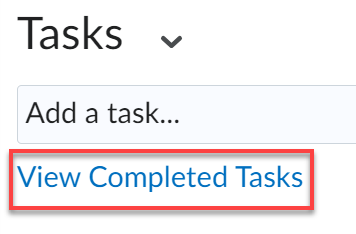
f. If needing to delete a saved task, select the
trashcan icon to the right of the task. Once tasks are completed, you can still
view the details by selecting view completed tasks.

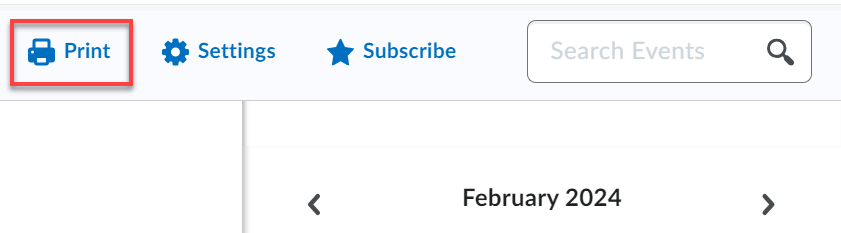
10. Select
print at the top of the page to print a copy of the calendar events.
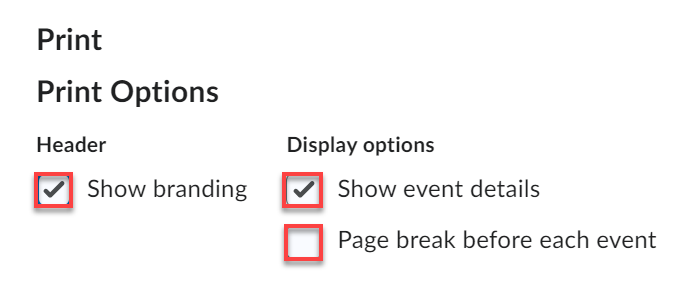
a. A pop-up window will appear. Choose how much of
the information to print by selecting or deselecting the checkboxes for the
branding, event details, and page breaks options.
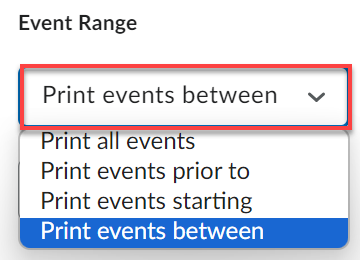
b. If desiring to only print a specific date range
of events, filter the event range by selecting the event range drop-down menu
and choosing the desired filter. Options include: print all events, print
events prior to, print events starting, and print events between.
i. Then
enter the date for the specified date range.

ii. Select
update preview to refresh the print preview.
c. If needed, select the diagonal three-line icon
in the bottom right corner of the pop-up window to expand the pop-up window.

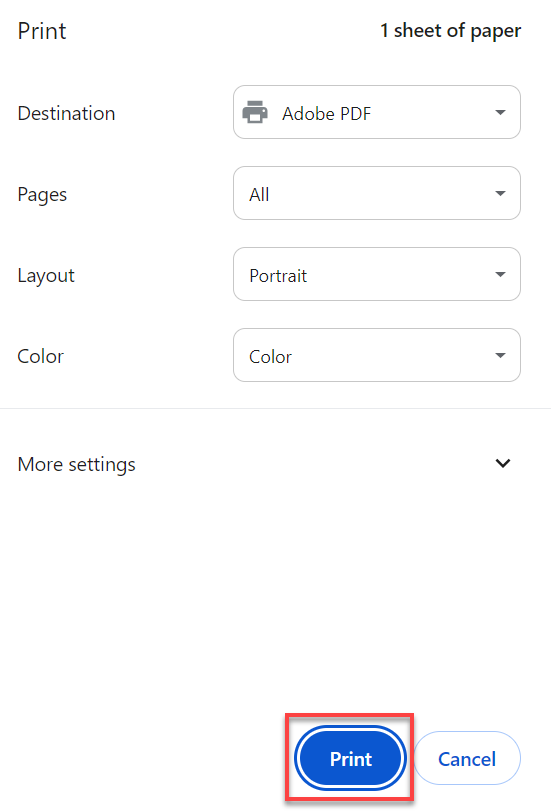
d. Once done selecting the calendar events, select
print at the bottom of the pop-up window. The print preview for your device
will open. This option will allow you to further adjust and select the desired
print settings and desired printer.
e. Select print once again when ready to print.