
Create a New
Announcement
The
Announcement tool can be used to create messages for all students to view on
the homepage of their course. Instructors can communicate course updates or
encourage students or throughout the course. When an announcement has been
published in a course, students will receive a copy of the announcement in
their Updates Alert (bell icon) at the top of the page in addition to being
able to view the announcement on the course homepage. This tutorial
demonstrates how to create a new announcement in MyFIRE.
1. Access the desired course in MyFIRE.
2. From
the course homepage, locate the announcement area.
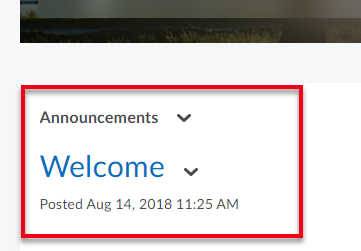
3. Select
the drop-down arrow to the right of the Announcements title.

4. Select new announcement from the drop-down menu.

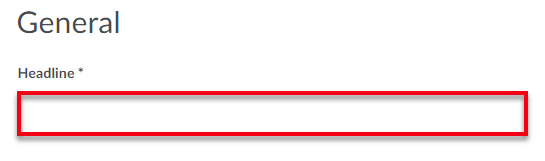
5. When
the page refreshes, title the announcement in the headline field.
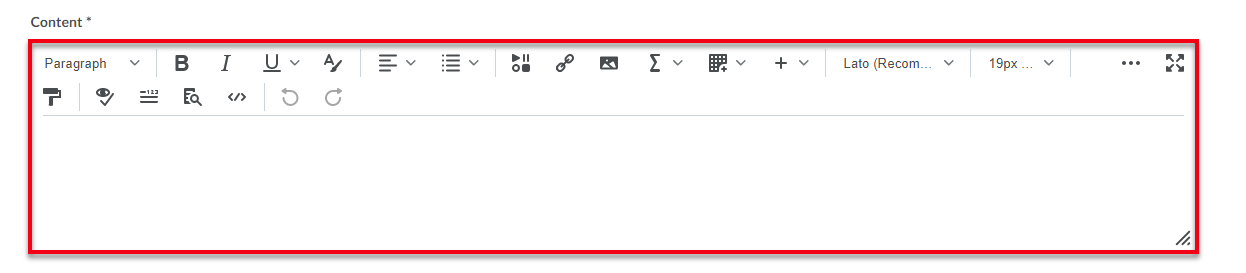
6. Createthe desired announcement. Note: For further instructions on
how to utilize the MyFIRE editor, please refer to the How to use the MyFIRE Editor tutorial.
a. To personalize the
announcement and directly engage each student while addressing the entire class
if desired, type your opening greeting statement (e.g. Hello, Good
Afternoon, Good Morning, Welcome, etc.), and then type {FirstName},. By
completing this step, when each student sees the announcement on the course
homepage, they will see the announcement directed to them specifically.

7. Next,
the start date is automatically enabled by default. To not show the start date
to students, uncheck the always show start date checkbox.

8. Choose
the start date and time for the announcement. The start date & time
is when the announcement will be published and visible. If no start date is
selected, the announcement will be published immediately.

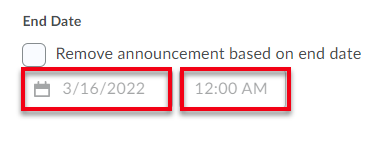
9. If
desiring to end the announcement on a specific day, select the end date
checkbox.
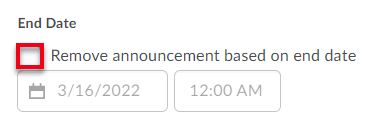
a. Then enter the desired date
and time. Once the end date has passed, the announcement will no longer be
visible to the students.
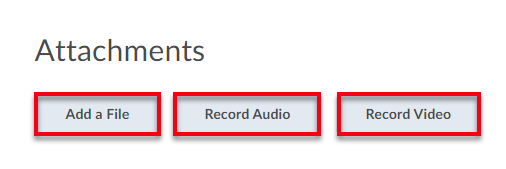
10. To
add an attachment select add a file, record audio or record video.
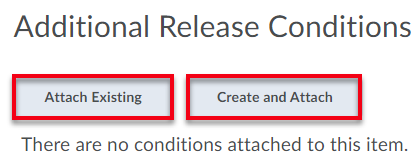
11. If
desired, add a release condition (a prerequisite) to viewing the announcement
by selecting attach existing or create and attach. If a condition
is added, and the student(s) have not completed the prerequisite condition,
then the students will not be able to view the announcement until the
condition(s) are satisfied.
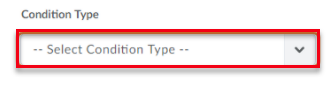
a. A pop-up window will
appear. If creating a new condition, choose the desired condition type by
selecting the condition type drop down menu.
b. Next, choose the
condition that the students should complete as a prerequisite under condition
details. Note: The prerequisite conditions will change based on the
condition type that was selected in the previous step.

c. Once finished selecting
the condition settings, select create at the bottom of the pop-up
window.
12. If
the announcement is not ready to publish, select save as draft

13. Once
the announcement is ready for the students, select publish.

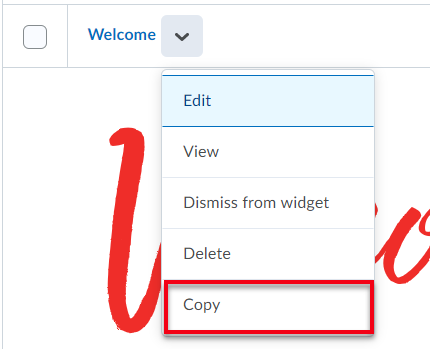
14. If
needing to create multiple similar announcements, quickly create a new
announcement by selecting the drop-down arrow to the right of the
announcement title.

15. A
drop-down menu will appear. Select copy from the list.
16. Then edit the copy of the announcement by repeating steps 5-13.